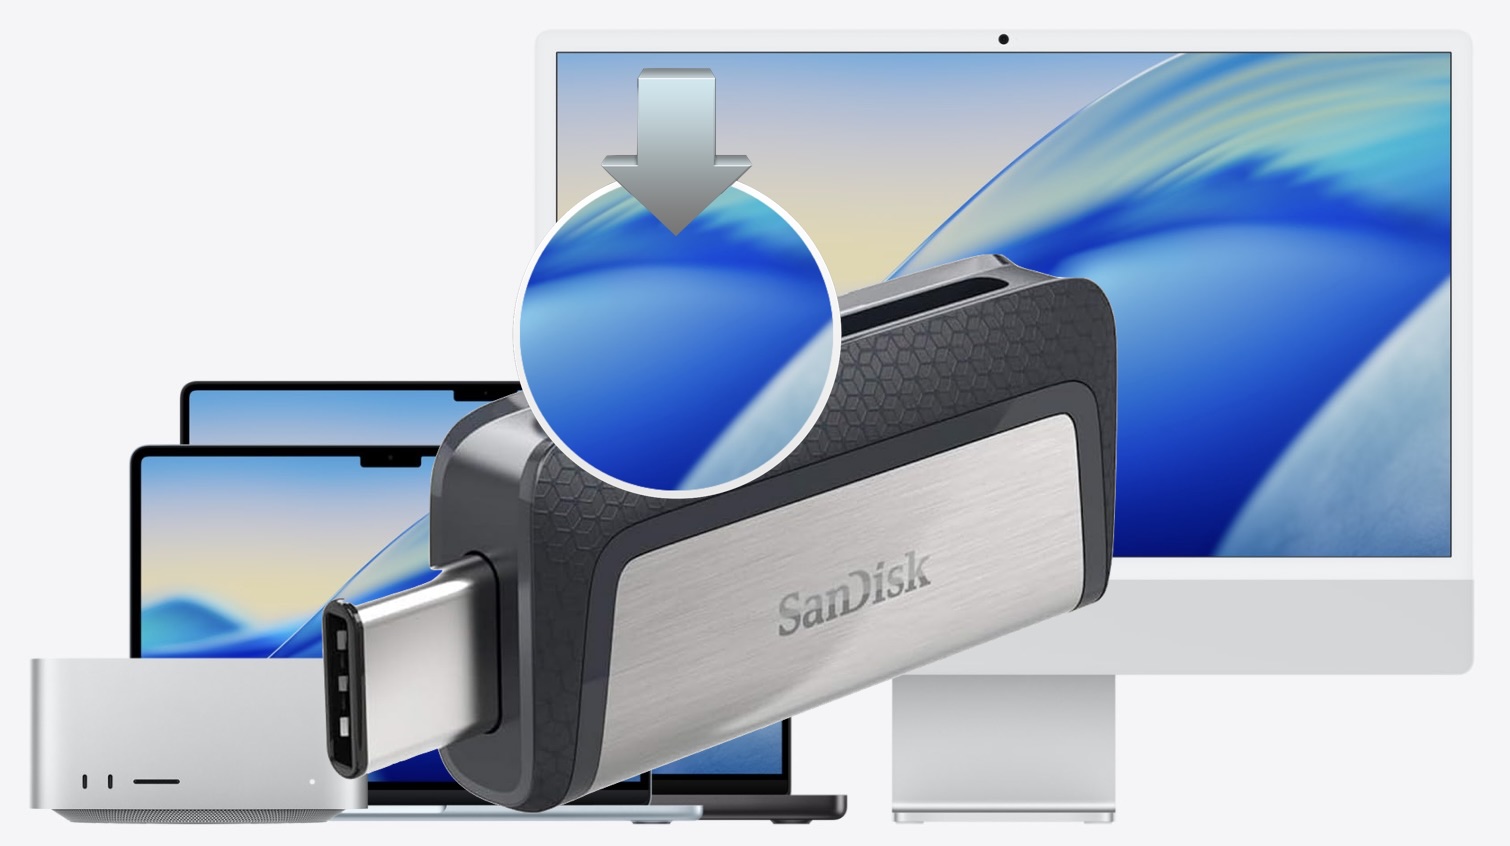
Nuke and Pave MacOS Tahoe
I completed a nuke-and-pave upgrade to MacOS Tahoe on my workstation yesterday.
Here's my pre-install checklist:
- record my cron jobs -
crontab -l > ~/crontabs.txt - run an initial backup with Carbon Cloner to an external drive (may take a couple hours)
- shut down running applications
- run a final backup with Time Machine
- run another backup with Carbon Cloner (should be a lot faster than the first backup)
Carbon Cloner can be found here:

Some people may remember that in the old days, you could boot from the clone made by Carbon Cloner. Unfortunately, that no longer works, but I still find it useful for cloning my drive as a backup.
I used some instructions here for creating the boot disk:

It appears to be necessary to manually download the .pkg file. See here for the link. I downloaded mine here. Download the .pkg file, then execute it to create the installer in /Applications. Then you can use these instructions to create the bootable installer on a flash USB drive from the command line.
sudo /Applications/Install\ macOS\ Tahoe.app/Contents/Resources/createinstallmedia --volume /Volumes/TahoeUSB --nointeraction
I shut down and disconnected all my external drives before starting the install.
For Apple-silicon macs, after connecting the flash USB drive, just hold the power button until the startup options screen appears. This takes a little longer than I expected, so hopefully your power button is easily reachable.
When it booted up, I chose options, then disk utility, then selected the hard drive. I was required to reboot after clearing the hard drive. I ended up having to shut back down and start up again holding the power button to get it to boot from the flash drive.
For some reason, I was required to enter my apple id and password to be able to boot up and run the installer.
I had to temporarily hook up a USB mouse since my trackpad did not automatically connect to the installer. Once the OS was fully installed, I was able to reconnect to my trackpad without needing to go through the pairing process again.
Finally, I walked through my checklist of things to do after a clean install. This includes setting various system preferences, downloading and installing Little Snitch, installing various apps from the app store, and installing homebrew. I also copied over various files from the backup I created with Carbon Cloner. It typically takes me a day or so to go through my list and get everything set back up again.
One strategy I use to make nuke-and-pave upgrades easier is to store the important files in my home directory on an external drive. In the past, I mounted the external drive as my home directory, but this was always a bit of a pain during upgrades. So now, I leave my home directory on the root drive, and I just symlink important directories over to my external drive.
$ ln -s /Volumes/tank/projects ~/

$ ls -l ~/projects
lrwxr-xr-x  1 myuser  staff  22 Oct  6 21:51 /Users/myuser/projects -> /Volumes/tank/projects
Another strategy I use is to keep a log of my OS and app customizations. When I do a fresh install, I just work through the list to download and install all the latest versions of my apps and copy over the preferences from my backup or else manually apply my custom settings. Once I'm up and running, when I find that I missed something, I update my log while doing them, so that I'll remember the next time around. This makes the process easier over time.
Also, I have a workstation and laptop that mostly use the same apps with the same customizations. So, I typically do the OS install on my workstation first and use my laptop as a backup (in case I need to do something that I haven't set up on my workstation yet). After working on the new OS for a few weeks and feeling comfortable with it, I repeat the process on my laptop.


